iOS Core-Animation 动画
熟悉 Core-Animation 框架
Core-Animation ,中文译为“核心动画”,是 iOS 和 macOS 上一组非常强大的 API 。它的最底层是 GPU ,上层是 OpenGL / OpenGL ES 和 CoreGraphics ,这两个框架提供了一些接口来访问 GPU 。最上层 CoreAnimation 提供了大量封装好的 API 来实现简单或复杂的动画。程序员只需要编写很少的代码,比如修改几个参数,或者设置起始、终止状态,就可以制作出很精美的动画。
Core-Animation 是基于 Layer 的,而非 UIView 。利用 GPU 来计算,所以速度快、效率高,且不会拖累 CPU 造成程序卡顿。所有的动画都是在后台执行的,不会阻塞主线程。
基本动画的使用
1. CABasicAnimation
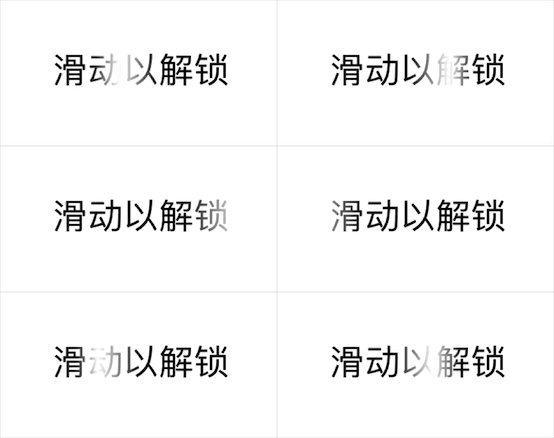
Demo - 模仿 iOS9 锁屏界面的“滑动以解锁”动画(在 iOS10 中这个动画已经被”按下主屏幕按钮以解锁“取代)

1
2
3
4
5
6
7
8
9
10
11
12
13
14
15
16
17
18
19
20
21
22
23
24
25
26
27
28
29
30
31
32
33
34
35
36
37
38
39
40
41
42
| let gradientLayer = CAGradientLayer()
gradientLayer.frame = CGRect(x: 0, y: 0, width: 200, height: 60)
gradientLayer.startPoint = CGPoint(x: 0, y: 0.5)
gradientLayer.endPoint = CGPoint(x: 1, y: 0.5)
gradientLayer.colors = [UIColor.black.cgColor,UIColor.white.cgColor,UIColor.black.cgColor]
gradientLayer.locations = [0,0.5,1]
let myview = UIView(frame: CGRect(x: 120, y: 200, width: 200, height: 60))
myview.layer.addSublayer(gradientLayer)
view.addSubview(myview)
let gradient = CABasicAnimation(keyPath: "locations")
gradient.fromValue = [0,0,0.25]
gradient.toValue = [0.75,1,1]
gradient.duration = 3
gradient.repeatCount = Float.infinity
gradientLayer.add(gradient, forKey: nil)
let text:NSString = "滑动以解锁"
let textAttributes:[String:Any] = {
let style = NSMutableParagraphStyle()
style.alignment = .center
return [NSFontAttributeName: UIFont.systemFont(ofSize: 25),NSParagraphStyleAttributeName: style]
}()
let image = UIGraphicsImageRenderer(size: CGSize(width: 200, height: 60)).image(actions: {
_ in
text.draw(in: CGRect(x: 0, y: 0, width: 200, height: 60), withAttributes: textAttributes)
})
let masklayer = CALayer()
masklayer.frame = CGRect(x: 0, y: 0, width: 200, height: 60)
masklayer.backgroundColor = UIColor.clear.cgColor
masklayer.contents = image.cgImage
myview.layer.mask = masklayer
|
2. CAKeyFrameAnimation
所谓的“关键帧动画”。与 BasicAnimation 的区别是: CABasicAnimation 只能设置起始和终止值,而 CAKeyFrameAnimation 可以用一个数组保存中间值,即记录下来“关键帧”的信息。
这里可以设置 path(其实 CABasicAnimation 也可以设置 path ),让动画沿着轨迹运动。但是设置 path 之后,value 值将被忽略。
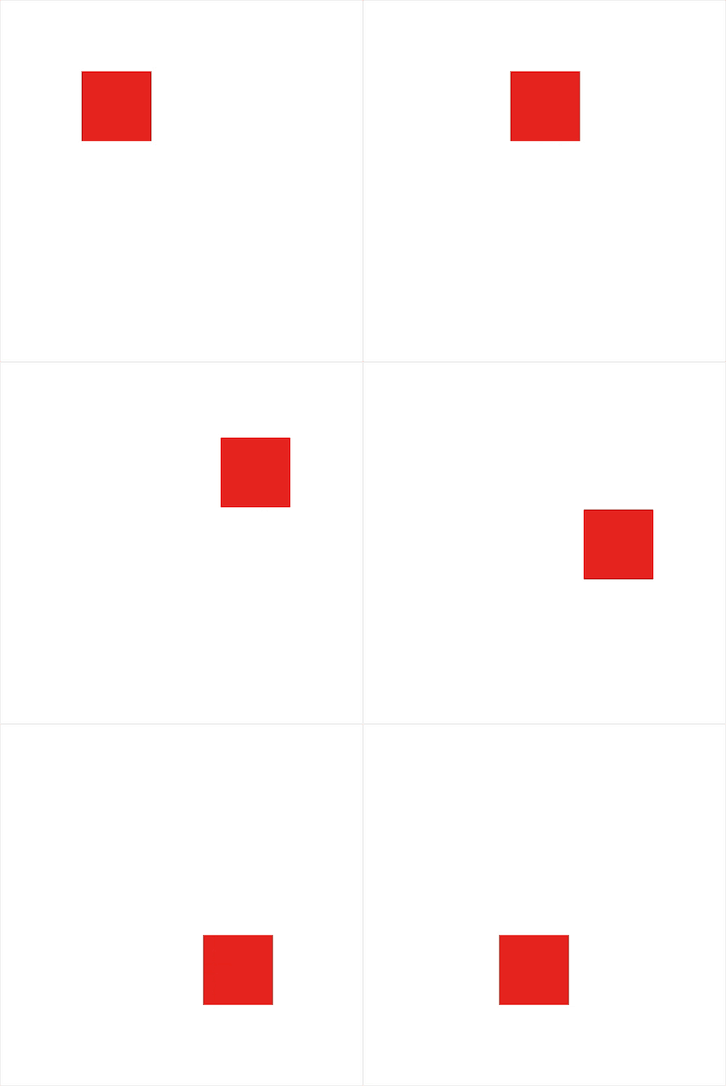
Demo - 沿路径运动( UIBeizerPath )

1
2
3
4
5
6
| let move = CAKeyframeAnimation(keyPath: "position")
move.path = UIBezierPath(rect: CGRect(x: 120+25, y: 200+25, width: 100, height: 100)).cgPath
move.duration = 3
move.repeatCount = .infinity
myview.layer.add(move, forKey: nil)
|
这里似乎不能直接设置反向运动。想要反向运动需要自己绘制一个反向的矩形。
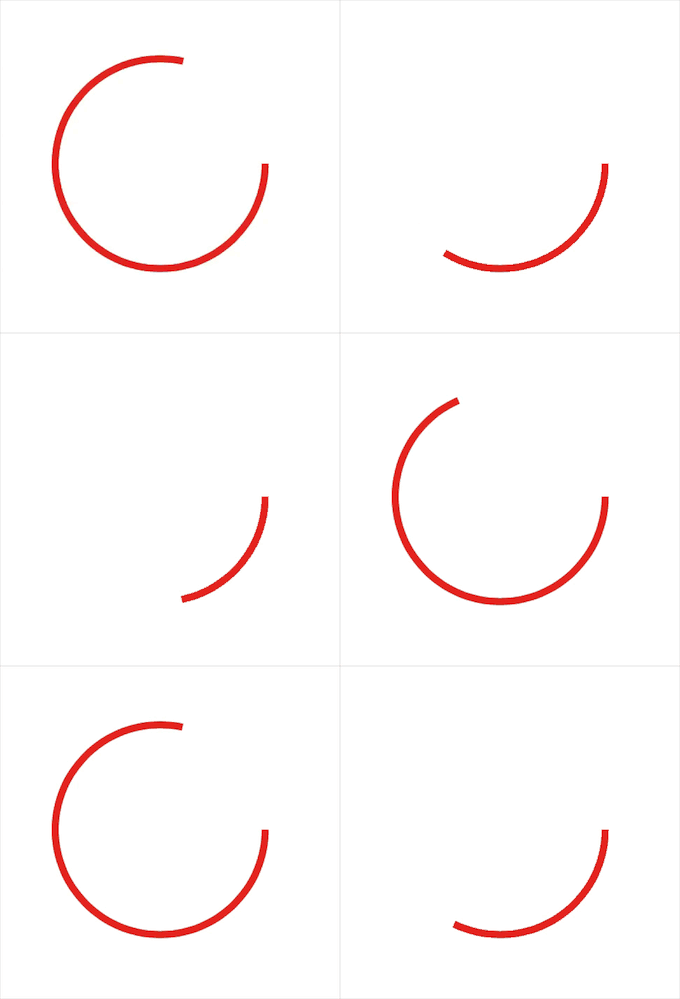
Demo - 圆形进度条( CAShapeLayer )

1
2
3
4
5
6
7
8
9
10
11
12
13
14
15
16
17
| let shape = CAShapeLayer()
shape.frame = myview.bounds
shape.path = UIBezierPath(ovalIn: shape.frame).cgPath
shape.fillColor = UIColor.clear.cgColor
shape.lineWidth = 5
shape.strokeColor = UIColor.red.cgColor
myview.layer.addSublayer(shape)
let anim = CAKeyframeAnimation(keyPath: "strokeEnd")
anim.values = [0,1]
anim.keyTimes = [0,1]
anim.duration = 3
anim.autoreverses = true
anim.repeatCount = .infinity
shape.add(anim, forKey: nil)
|
3. CATransition
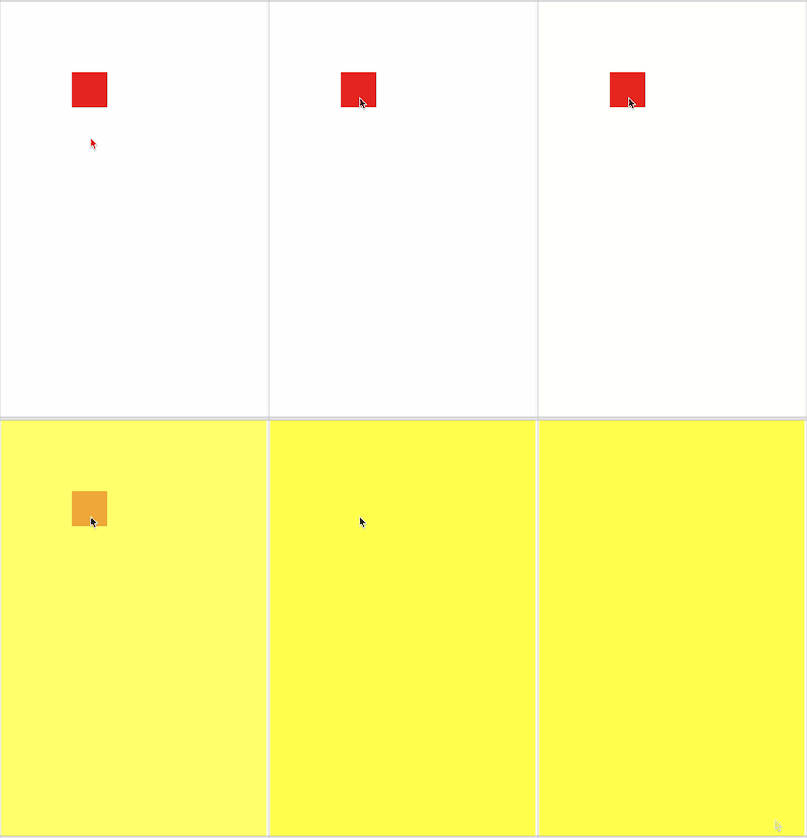
Demo - 简单的转场动画(渐变效果)

1
2
3
4
5
6
7
8
9
10
11
12
13
14
15
16
17
18
19
20
21
22
23
24
25
26
27
28
29
30
31
32
33
34
35
36
37
38
39
40
41
42
43
44
45
46
47
48
49
50
51
52
53
54
55
| import UIKit
import PlaygroundSupport
class ViewController: UIViewController, UIViewControllerTransitioningDelegate {
let button = UIButton(frame: CGRect(x: 100, y: 100, width: 50, height: 50))
override func viewDidLoad() {
view.backgroundColor = UIColor.white
view.addSubview(button)
button.backgroundColor = UIColor.red
button.addTarget(self, action: #selector(ViewController.onClick), for: .touchUpInside)
}
func onClick() {
let vc = YellowViewController()
vc.transitioningDelegate = self
present(vc, animated: true, completion: nil)
}
func animationController(forPresented presented: UIViewController, presenting: UIViewController, source: UIViewController) -> UIViewControllerAnimatedTransitioning? {
return Animator()
}
func animationController(forDismissed dismissed: UIViewController) -> UIViewControllerAnimatedTransitioning? {
return nil
}
}
class YellowViewController: UIViewController, UIViewControllerTransitioningDelegate {
override func viewDidLoad() {
view.backgroundColor = UIColor.yellow
}
}
class Animator: NSObject, UIViewControllerAnimatedTransitioning {
let duration = 2.0
func transitionDuration(using transitionContext: UIViewControllerContextTransitioning?) -> TimeInterval {
return duration
}
func animateTransition(using transitionContext: UIViewControllerContextTransitioning) {
let containerView = transitionContext.containerView
let toView = transitionContext.view(forKey: .to)!
containerView.addSubview(toView)
toView.alpha = 0
UIView.animate(withDuration: duration, animations: {
toView.alpha = 1
})
}
}
PlaygroundPage.current.liveView = ViewController()
|
问题
1. CoreAnimation 的工作机制
CoreAnimation 是基于 layer 的动画,通过 GPU 来渲染。而基于 view 的动画是通过调用 drawRect 方法使用新参数不断的重绘内容,使用 CPU 来不断的计算,因而效率很低。
2. 为什么动画结束后返回原状态?为什么动画在移动过程中我们不能进行操作?
因为在动画运行时,我们看到的并不是该控件本身,而是一个假的“躯壳”,即 presentation layer 。真实的控件会被隐藏,而只有视觉层在做动画,所以移动的过程中不能做任何操作。一旦动画结束, presentation layer 就会被移除,真实的控件又会显示出来,这就是为什么动画结束后会返回到原状态:因为动画并没有修改控件本身的属性,结束后又回到了 model layer 的值。有时候会为了不让动画结束后跳回原状态而设置 fillMode 参数,但是这也这是让 presentation layer 停留在最后的位置。如果你的控件是可以操作的,那就不可以这么做。


